How to Build a Rustic Coffee Table for Under $50?
Over the years, I’ve discovered that building your own furniture can be both fun and economical. In this guide, I will walk you through creating a stunning rustic coffee table that won’t break the bank— you can make it for under $50! With just a few tools and materials, you’ll be able to craft a beautiful piece that adds character to your living space. So, let’s dive in and transform some simple supplies into a functional and stylish table for your home!
Crafting Your Vision: Designing the Perfect Rustic Coffee Table
Before entering into the construction phase, it’s important to clarify your design vision for the coffee table. A rustic coffee table blends function with charm, providing a perfect centerpiece for your living space. Consider factors like size, shape, and materials that pair well with your existing decor. By thinking through these elements, you’ll create a piece that enhances your home while meeting your needs.
Defining the Style: What Makes a Coffee Table “Rustic”?
The rustic aesthetic exudes warmth and natural beauty, often characterized by raw or reclaimed materials, earthy tones, and unique imperfections. Emphasis is placed on durability and craftsmanship, where pieces often tell a story through their construction. Think sturdy wooden tops, distressed finishes, and metal accents that evoke a sense of comfort and simplicity.
Sketching Your Idea: Tips for Creating a Functional Design
Creating a sketch of your coffee table design will clarify your vision and ensure functionality. Start with a simple outline of your desired shape, then indicate dimensions that suit your space. Consider including storage solutions, like lower shelves or drawers, which enhance usability without sacrificing style. Utilize graph paper to scale your design or digital tools for a more precise approach.
- Measure the space where the table will sit.
- Consider proportions to ensure it fits comfortably with your seating.
- Note potential features like shelves or unique leg designs.
- Work through multiple designs to find the best fit.
When you visualize your coffee table and assess its functionality, you’re one step closer to building a unique piece that fulfills your needs. This process will inform not only the shape and size but also the overall aesthetic. Keep these suggestions in mind:
- Think about the materials you want to use.
- Balance form and function throughout your design.
- Ensure that your chosen features align with your lifestyle.
- Experiment with different layouts until something feels right.
Refining your design through sketching allows for adjustments and creativity. Whether you opt for a classic rectangular shape or a more modern round table, this is your opportunity to make the furniture uniquely yours. After you finalize the design, you’ll be ready to gather materials and start building!
Material Sourcing: Finding Budget-Friendly Supplies
Scouting for materials can be a fun adventure, especially if you’re aiming to keep costs low. Visit local lumber yards, home improvement stores, or even online marketplaces to uncover a variety of options that won’t break the bank. I often find great deals on off-cuts or discounted wood, perfect for these projects. Additionally, don’t overlook the charm of thrift stores or garage sales—sometimes you can repurpose existing furniture for a unique touch at a fraction of the cost.
Reclaimed Wood vs. New: Where to Save
Opting for reclaimed wood adds character and sustainability to your rustic coffee table, often available at a similar price point as new wood. While reclaimed lumber has the advantage of rich history and weathered aesthetic, new wood can provide a cleaner look and may be easier to work with for beginners. I’ve found that browsing local salvage yards yields fantastic pieces that give a unique flair to each project while still keeping expenses low.
Essential Hardware: What You Really Need
Choosing the right hardware is vital to ensure your table is sturdy without overspending. At a minimum, you’ll need screws, wood glue, and a few brackets for added support. I suggest investing in quality screws made from stainless steel to prevent rust and deterioration. A simple kit often suffices; just make sure to grab what fits your wood thickness and project design. Additionally, a few corner brackets can provide excellent reinforcement without adding significant cost.
When I build furniture, I’ve found that the necessary hardware can be surprisingly affordable. For basic projects, a pack of wood screws typically costs around $5 to $10, while brackets can be found for a couple of dollars each. You don’t need fancy hardware; opting for basic woodworking screws and some glue will be more than sufficient to keep your coffee table stable and secure. Aim for functionality over aesthetics in this phase, and you’ll save enough to splurge on finishes later.
Essential Tools and Equipment
Gathering the right tools is key to achieving a successful build. I recommend having a basic set of hand tools along with some power tools that can significantly speed up the process. Look for a miter saw, a drill, and a sander, as these tools will help you make precise cuts, secure your pieces together, and finish off your table nicely. Additionally, you might consider investing in clamps to hold everything in place while you work, ensuring a smoother assembly.
The Must-Have Tools for DIY Woodworking
The must-have tools for this project include a circular saw for straight cuts, a power drill for driving screws, and a sander for achieving that perfect rustic finish. A measuring tape is important for precision, while wood glue provides extra stability to your joints. A square will ensure that your angles are just right. If you have access to a jig saw, it can be handy for creating any unique shapes or details you want to incorporate into your coffee table design.
Safety First: Precautions to Keep in Mind
Prioritizing safety enhances your woodworking experience. Always wear personal protective equipment, such as safety glasses and hearing protection while operating power tools. Ensure your workspace is clean and organized to prevent accidents. Familiarize yourself with your tools’ manuals, especially regarding safety features. I also recommend having a first aid kit nearby as a precaution. Taking these simple steps can protect you and make your project more enjoyable.
A safe working environment means staying alert and focused while you’re handling tools. Unplugging power tools when changing blades or bits is a small yet effective preventative measure. Additionally, use push sticks when making cuts to keep your hands away from the blade. Regularly checking that your tools are in good condition helps avoid unexpected malfunctions that could lead to injuries. By implementing these practices, you set the stage for not just a successful project but a safe one as well.
Step-by-Step Assembly
| Step | Details |
|---|---|
| 1. Cutting and Preparing the Wood | Measure and mark your wood accurately for clean cuts. |
| 2. Assembling the Pieces | Utilize simple joinery techniques for sturdy construction. |
| 3. Finishing Touches | Apply stain and sealant for a rustic finish. |
Cutting and Preparing the Wood: Techniques for Precision
Using a circular saw or miter saw, cut your wood according to the dimensions you’ve chosen. Make sure to keep your cuts straight by using a straight edge as a guide. Sand the edges after cutting to remove any splinters and achieve a smooth finish, which will greatly enhance the overall look of your coffee table.
Assembling the Pieces: Joinery Basics Simplified
Joining your cut pieces together requires some basic techniques to ensure durability. I often opt for pocket holes or simple butt joints, as they are straightforward and effective for a rustic coffee table. Be sure to use wood glue in addition to screws for maximum strength.
To create strong connections, I recommend investing in a pocket hole jig that allows you to make angled holes for screws. This method ensures that the joints will hold up against wear and tear while maintaining a clean aesthetic. If you’re using butt joints, make sure to clamp the pieces together securely during assembly to avoid any misalignment. Remember to pre-drill holes to prevent the wood from splitting, especially on the ends. This approach not only strengthens the table but also speeds up the entire assembly process.
Finishing Touches: Staining and Sealing for a Rustic Look
Applying a stain is the perfect way to enhance the wood’s natural grain. I typically choose a dark walnut or antique pine stain for a rich rustic look. After staining, don’t forget to apply a clear sealant to help protect the surface from spills and scratches.
For the best results, apply multiple coats of stain, allowing time to dry between applications. Once I’ve achieved the desired color, a water-based polyurethane sealant provides durability without altering the color. Be mindful of the environment when working; proper ventilation is key to avoiding fumes. By taking the time to finish your table well, you’ll ensure it remains a standout piece in your living room for years to come.
Creative Customization: Personalizing Your Coffee Table
Adding your personal touch to your rustic coffee table makes it uniquely yours. Consider using stain or paint in colors that match your decor, or even adding a stencil design for a whimsical flair. You might also want to think about replacing standard hardware with antique-looking handles or knobs to enhance the rustic vibe. Don’t hesitate to integrate a theme that reflects your personality, whether it’s farmhouse chic or modern minimalism, ensuring that your coffee table truly stands out in your living space.
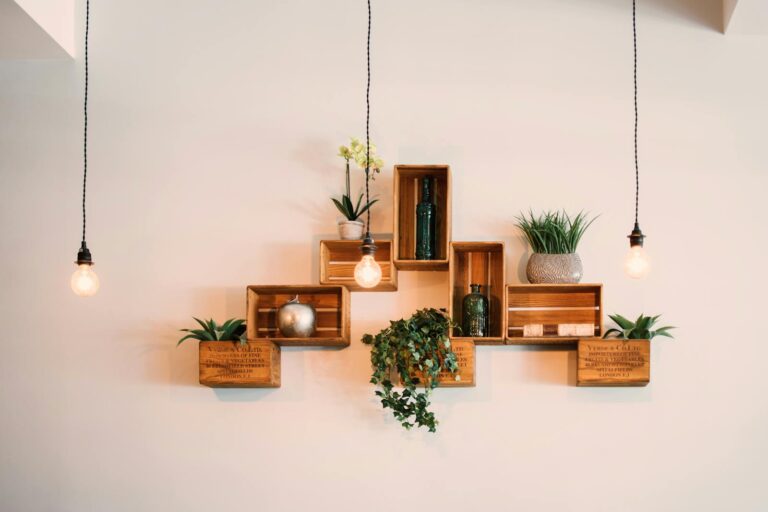
Unique Upgrades: Adding Storage or Decorative Features
Enhancing your coffee table with storage can be a game-changer for organization. Consider integrating a lower shelf or building in drawers to tuck away magazines, remotes, or coasters. Adding decorative features such as small wooden crates or baskets can also offer a stylish way to store items while maintaining the rustic aesthetic. Think of functional elements that serve both purpose and appeal, creating a harmonious balance.
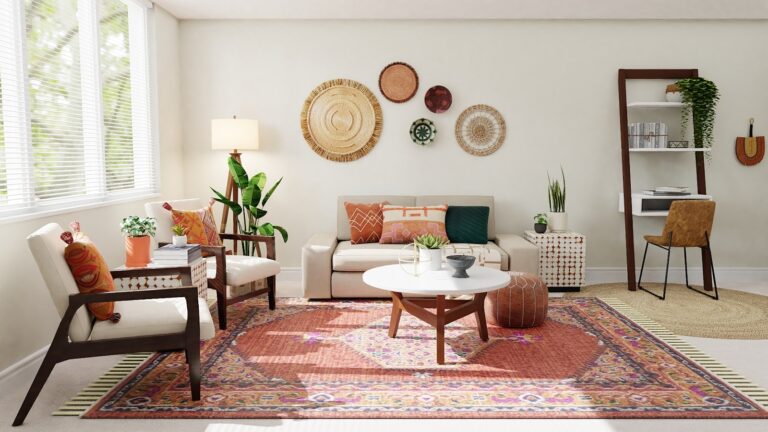
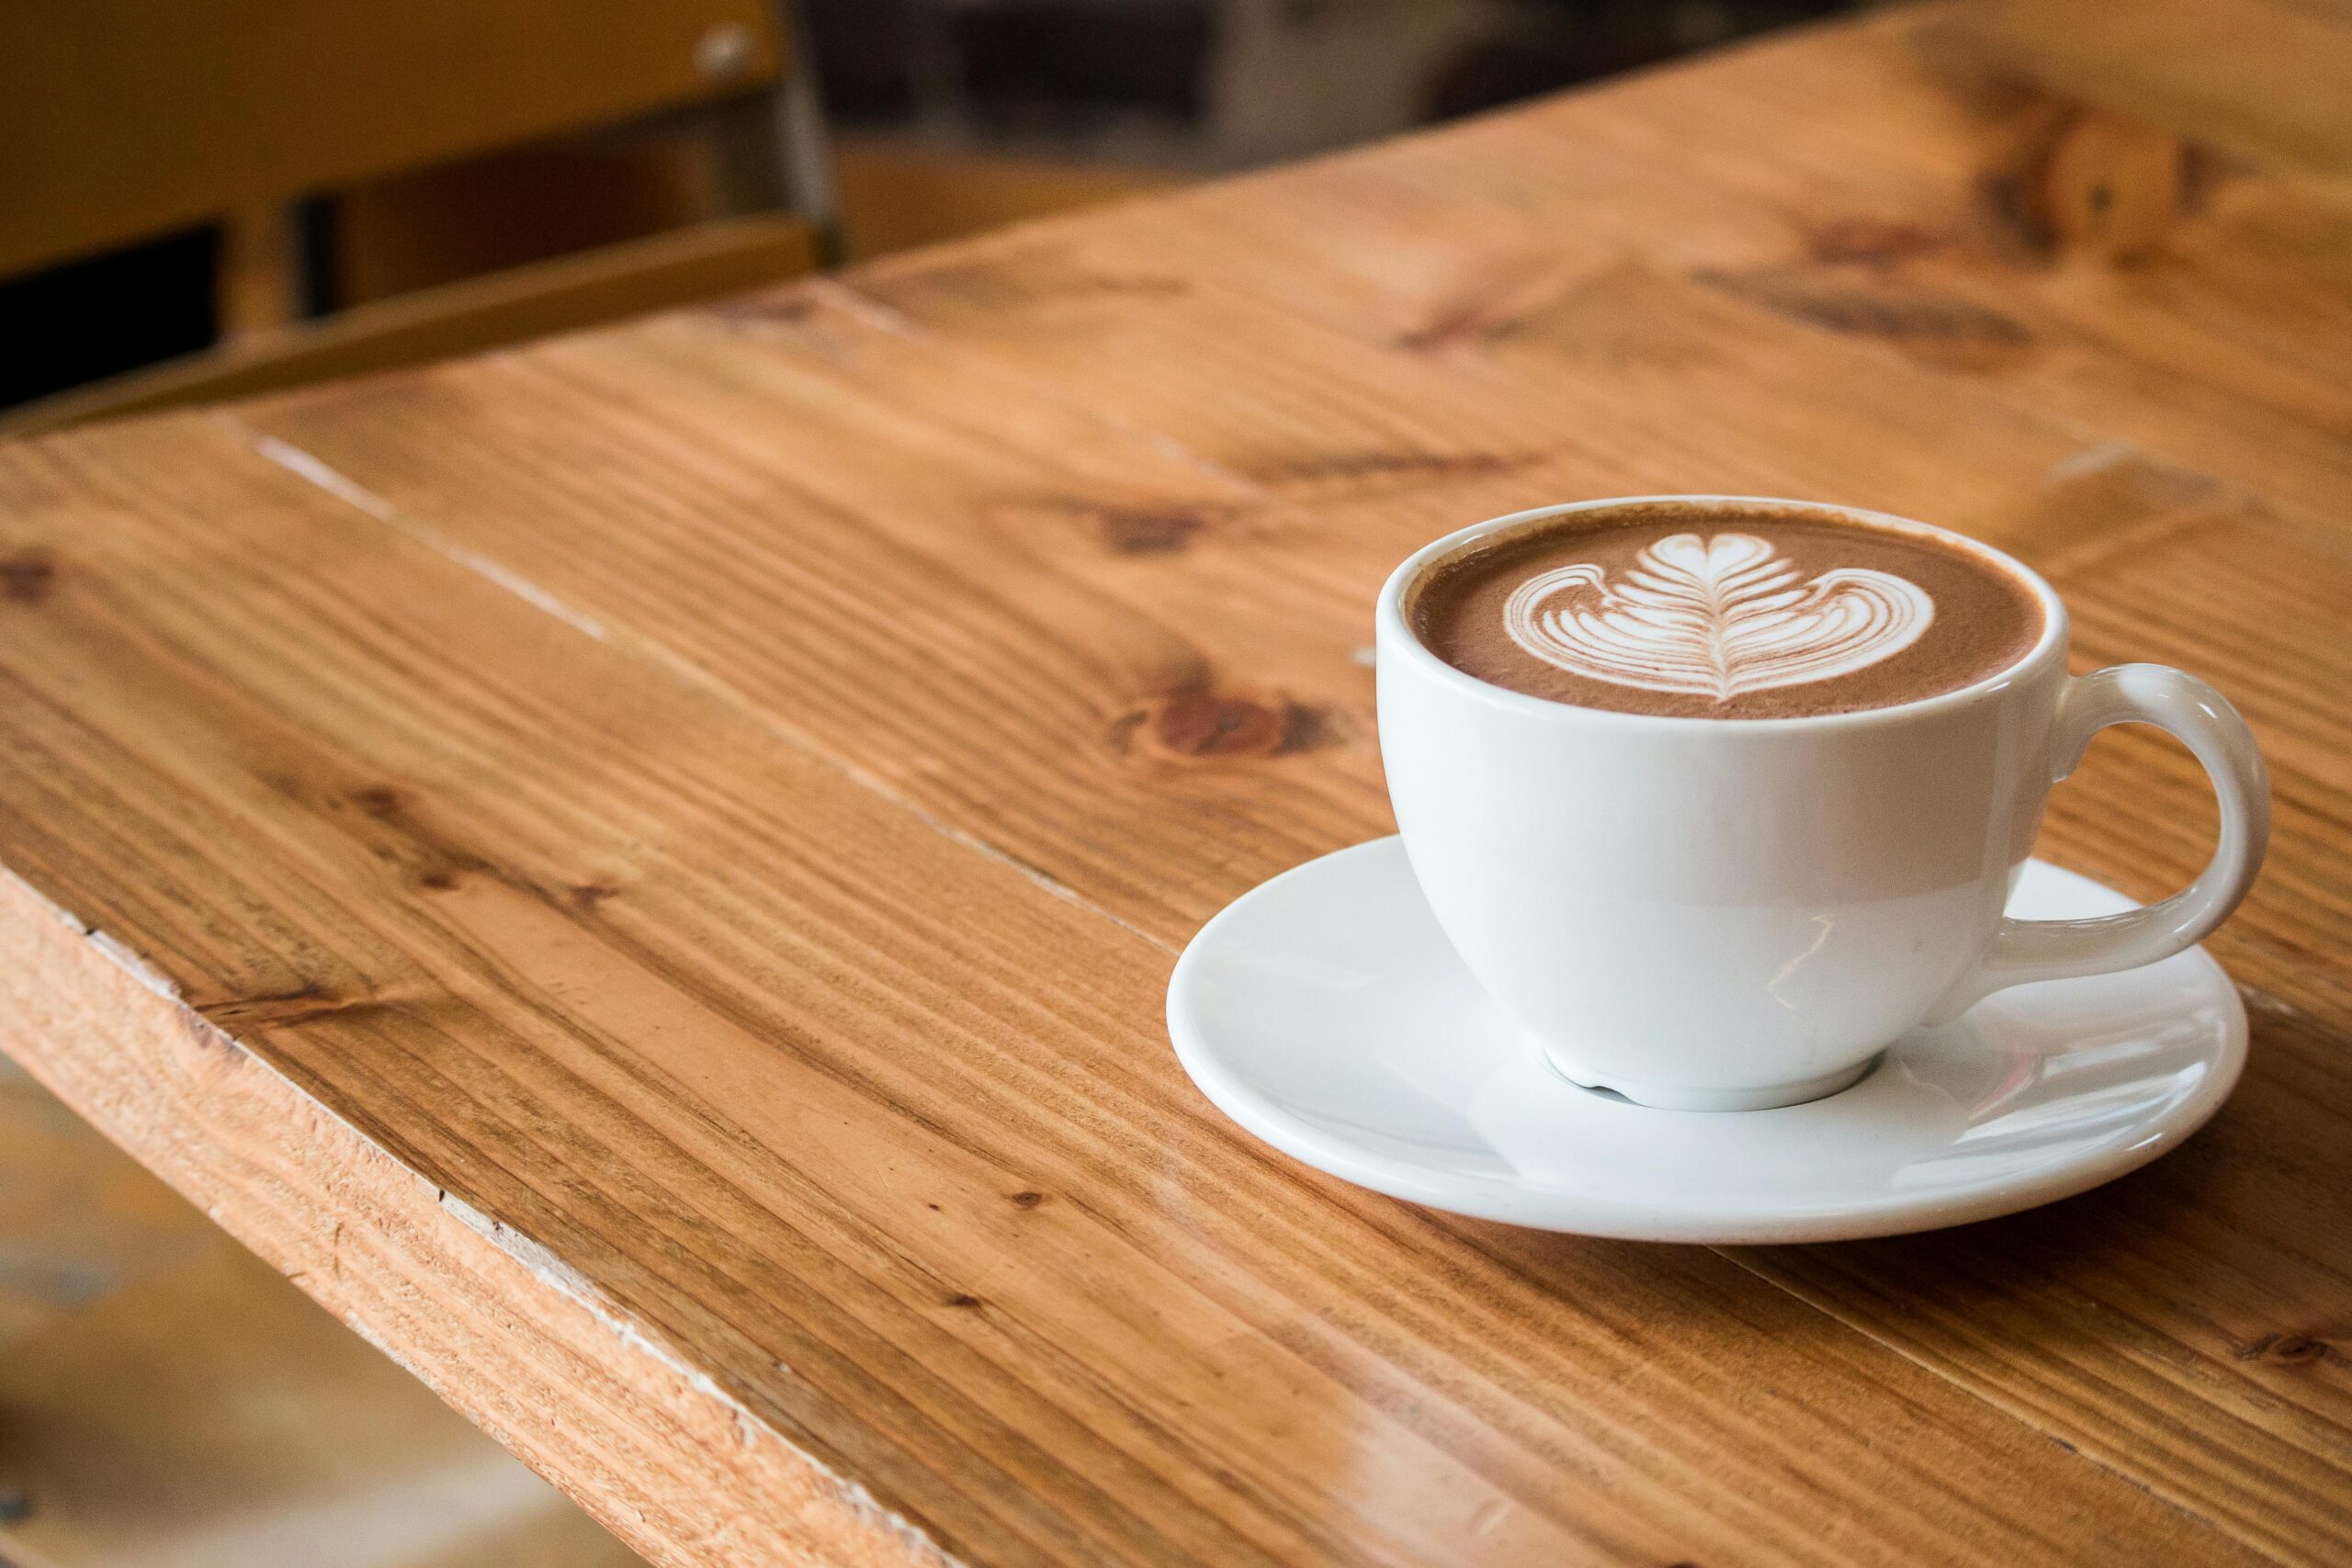
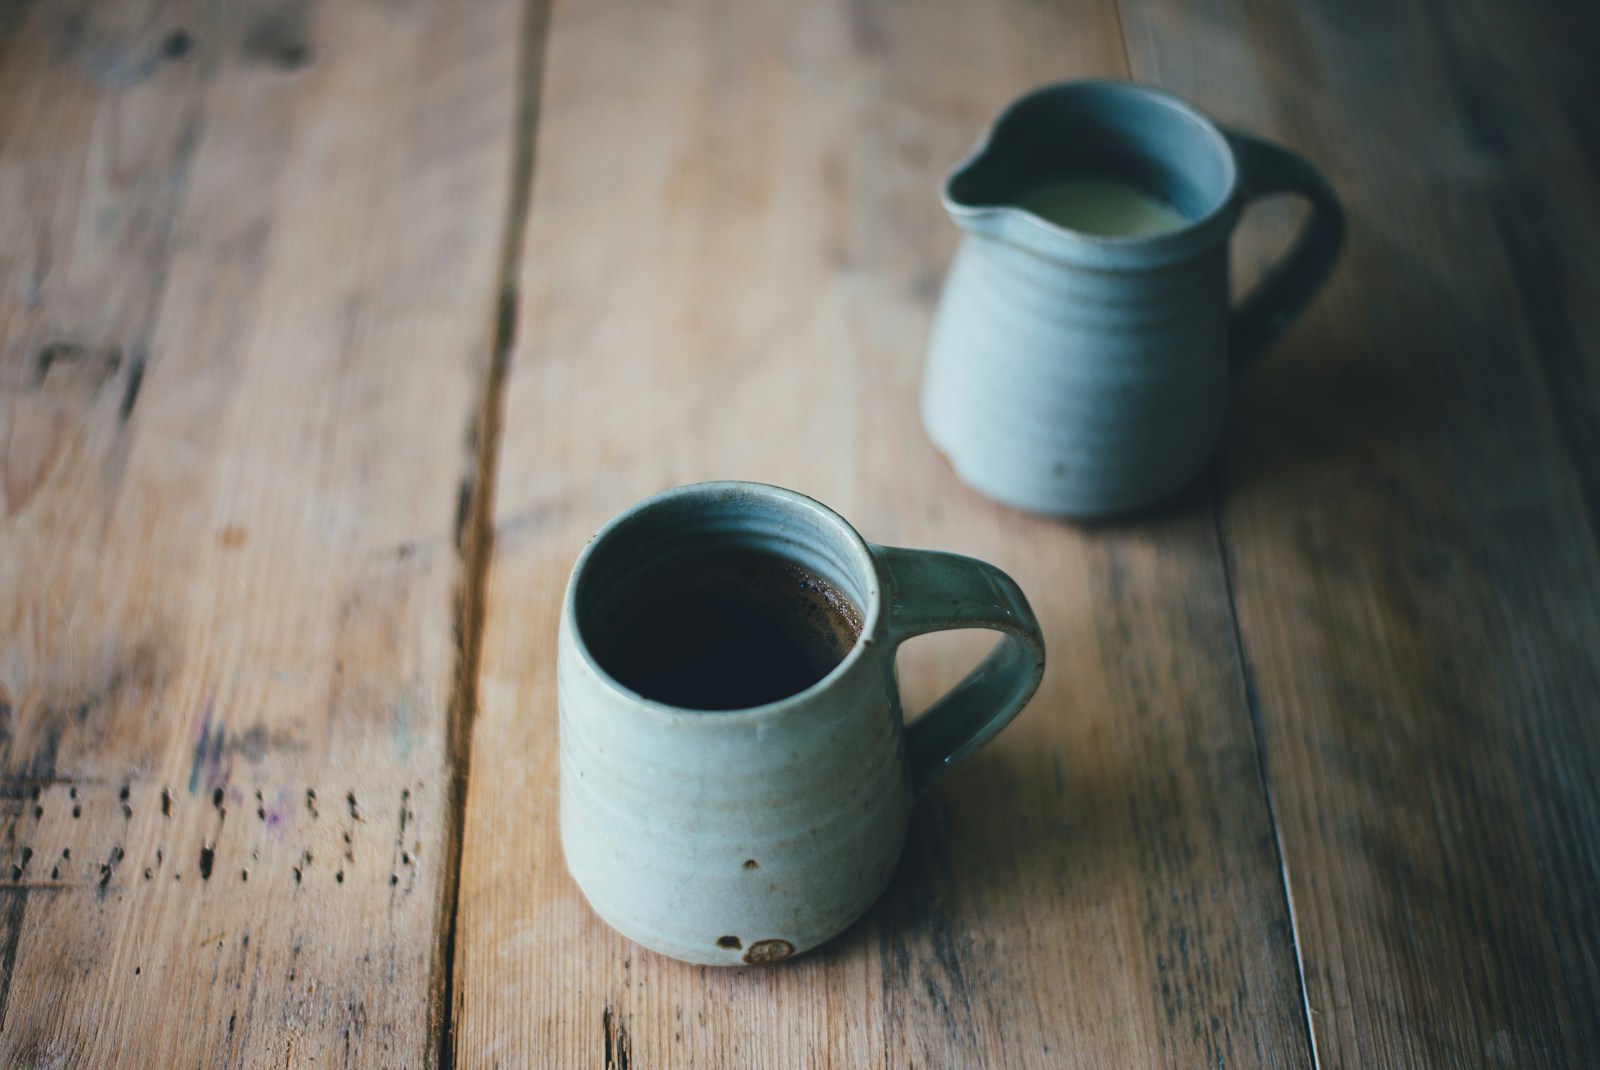
Styling Your Table: How to Decorate with Rustic Charm
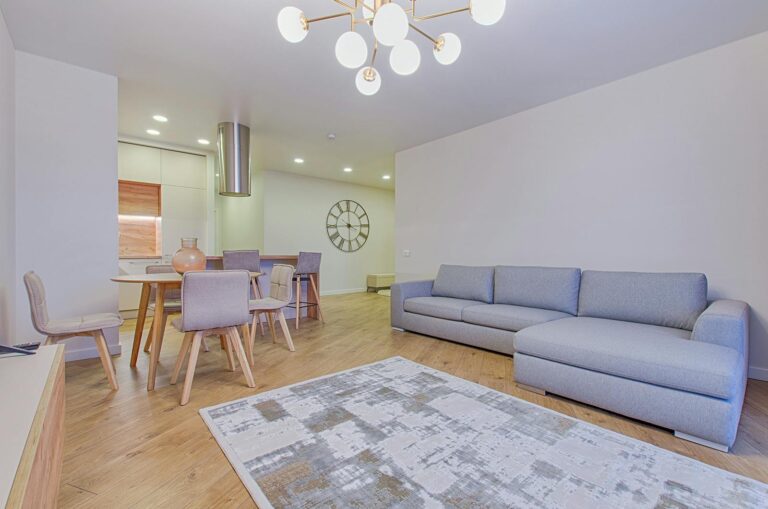
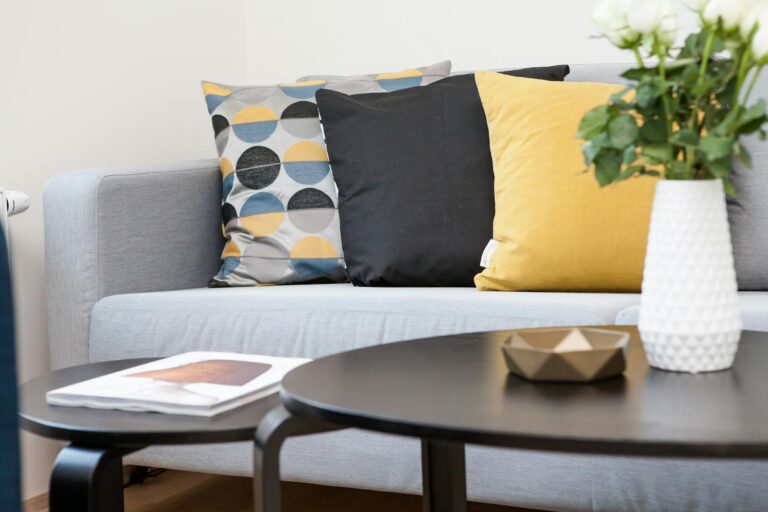
Styling your rustic coffee table can transform it into a centerpiece of your living space. Utilize natural elements like fresh flowers in a mason jar, stacked books, or wooden coasters to echo the rustic theme. Textures are crucial—consider layering a soft, woven blanket or a decorative tray in natural wood tones. Incorporating family heirlooms or handmade crafts can infuse personality and warmth, making your coffee table not just a functional piece but a meaningful one, connecting personal stories to your decor.
Pertaining to styling your coffee table, layer textures and heights for visual interest. Use a combination of materials such as metal, wood, and glass to create depth. Incorporate varying sizes of décor items, like a large, rustic vase paired with smaller candles. Hang framed photos or art above for context, and remember to leave some space clear for functionality, ensuring that your coffee table is inviting yet practical. This thoughtful arrangement will echo the rustic charm you’re aiming for, all while reflecting your unique style.
Summing up
Summing up, building a rustic coffee table for under $50 is an achievable project that can enhance your living space with a personal touch. By sourcing affordable materials, utilizing simple tools, and following an easy step-by-step process, you can create a stylish and functional piece that showcases your creativity. I encourage you to take the plunge and enjoy the experience of crafting something unique for your home that reflects your style and personality.