DIY Floating Shelves for a Minimalist Look
It’s a pleasure to explore the world of DIY floating shelves, where simplicity meets functionality. In this blog post, I will guide you through the process of creating your own minimalist floating shelves that not only save space but also enhance your home’s aesthetic. With the right materials and approach, you can achieve a sleek and modern look that beautifully displays your favorite items while maintaining an uncluttered environment. Let’s investigate the steps and tips that will help you elevate your decor with these stylish shelves!
Design Principles for Minimalist Floating Shelves
Incorporating minimalist design principles into floating shelves can elevate your home’s aesthetic while maintaining functionality. This approach highlights simplicity, emphasizing clean lines and spaciousness. The key is to create a cohesive look that seamlessly integrates the shelves with your decor, allowing them to complement rather than overwhelm the space.
The Aesthetics of Minimalism
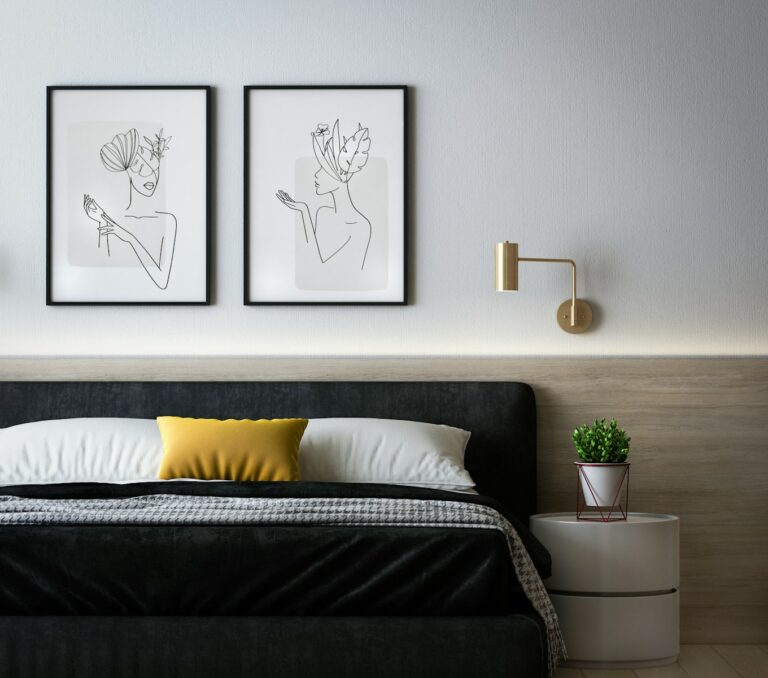
The beauty of minimalism lies in its restraint. By selecting materials like natural wood or metal and opting for neutral colors, I find that floating shelves can effortlessly blend with any environment. The objective is to create visual harmony, where each element serves a purpose without cluttering the scene.
Functional vs. Decorative Elements
Balancing functional and decorative components is fundamental in minimalist design. Each shelf can either serve a utilitarian purpose—for storing books or displaying plants—or enhance the overall decor. Choosing which direction to prioritize often defines the ultimate success of the floating shelves in a minimalist space.
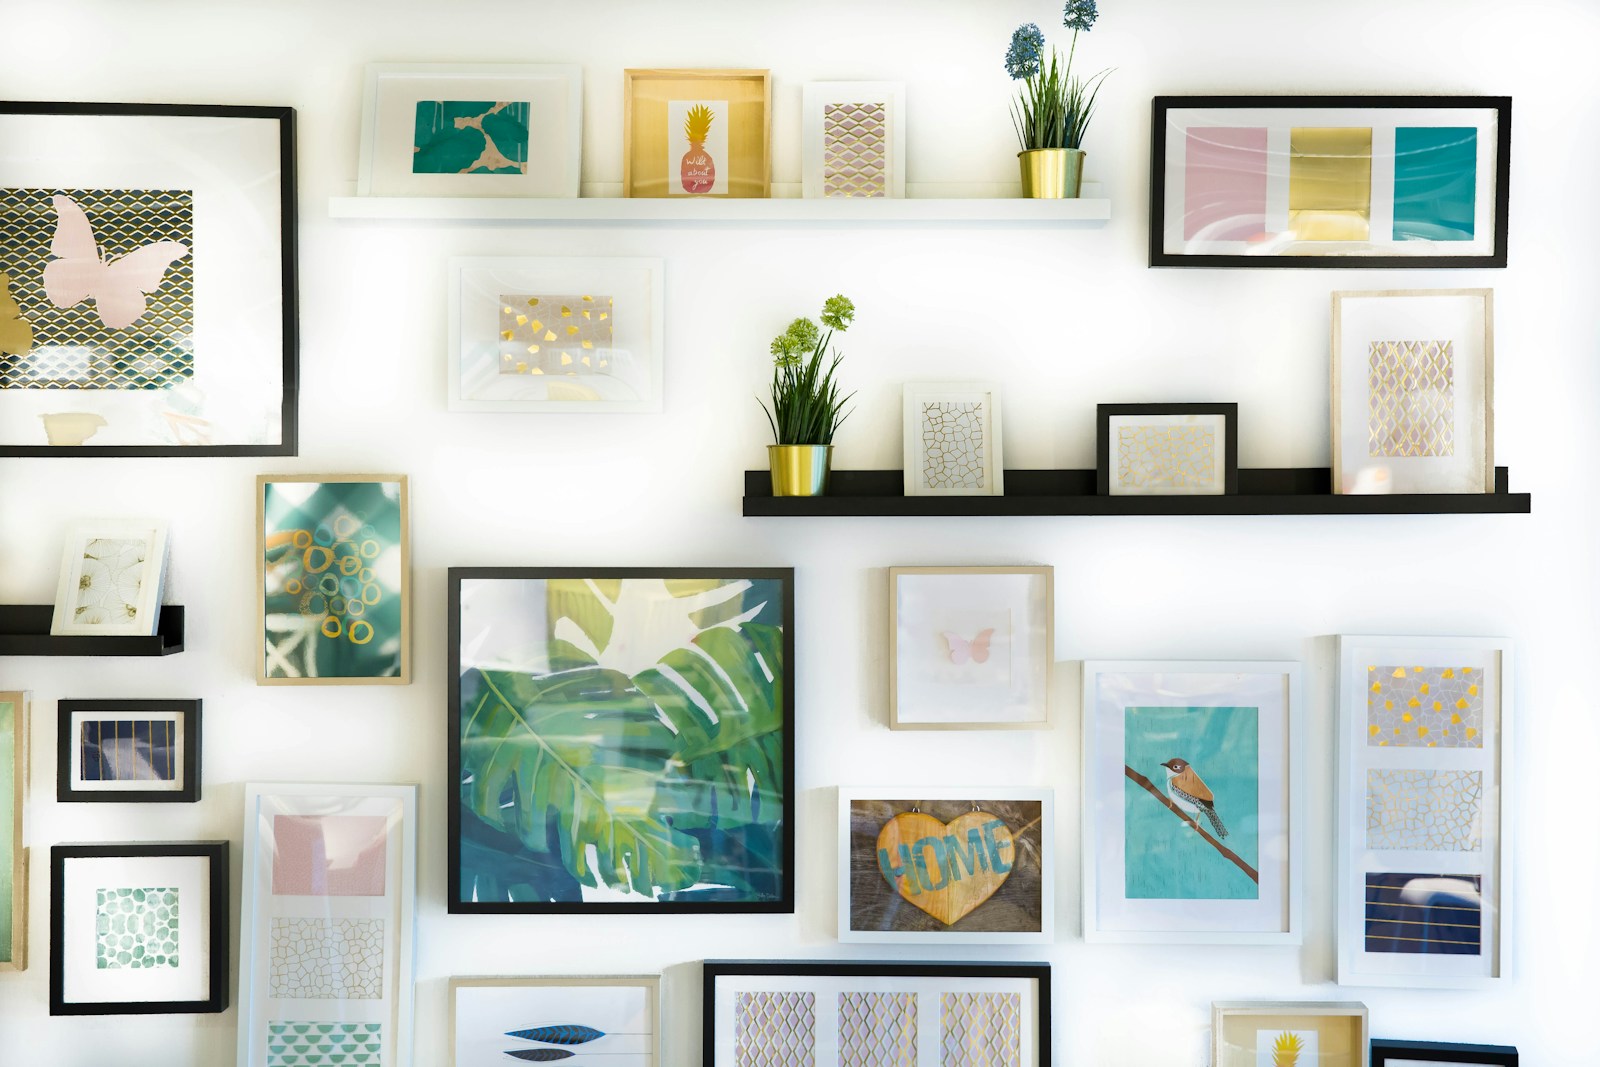
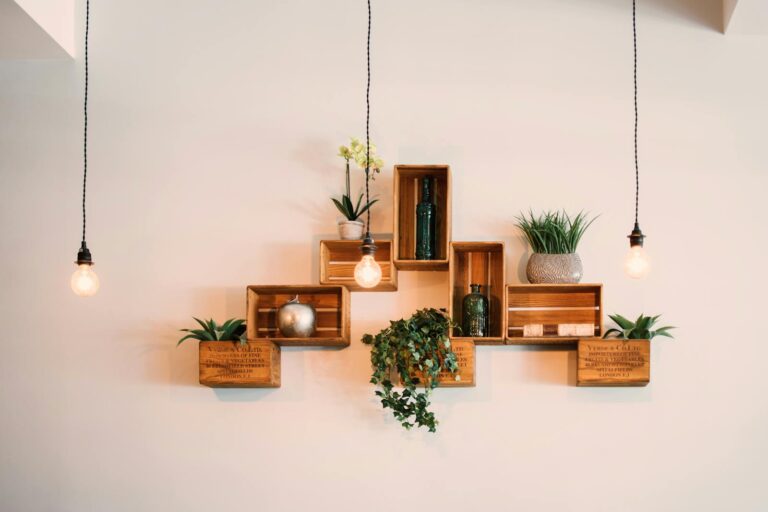
When considering functional versus decorative elements, I prioritize items that serve double duty. For example, using a sleek white shelf not only creates a place to showcase a favorite plant but also functions as a clean, open display for everyday items. Each piece should evoke intention, reminding us that less can indeed be more. By thoughtfully curating the items on your shelves, you can maintain a minimalist appearance while still incorporating personal touches that reflect your style.
Essential Materials and Tools for Your Project
Floating shelves are a great way to enhance your living space, but having the right materials and tools is key to achieving a sleek, minimalist look. Start by gathering high-quality wood, such as pine or plywood, which blends seamlessly with a variety of design aesthetics. You’ll also need proper brackets and supports to keep your shelves stable and secure. Touching up with paint or wood stain can help you tailor the finish to your style and environment. Ensuring you have everything ready will smooth the process, allowing you to focus on that clean, modern finish.
Choosing the Right Wood and Finishes
Selecting the right wood and finishes can make a significant difference in the overall appearance of your floating shelves. Opt for hardwoods like oak or maple for a robust look, or go for softer woods like pine for a more rustic feel. Stains can enhance the wood’s natural beauty, while paints in muted tones keep the focus on minimalism. A matte finish works wonders for a clean look, while gloss adds a touch of elegance. Personal preference will guide your choice, but testing samples helps ensure you achieve that perfect aesthetic.
Must-Have Tools for a Flawless Fabrication
The tools I find indispensable for building floating shelves include a power drill, a level, and a miter saw. A power drill simplifies installing brackets and securing your shelves in place, while a level ensures everything aligns perfectly. A miter saw facilitates precise cuts, allowing the wood to fit together seamlessly for a polished finish. Investing in quality tools not only enhances the efficiency of your project but also guarantees a professional look that lasts over time.
Using a power drill, you can make quick work of securing your shelves—make sure to choose drill bits that match your wall anchors for the best grip. A level is non-negotiable; it takes mere seconds to check alignment and save hours of fixing mistakes. The miter saw, with its ability to cut at specific angles, lets you create clean edges, which is vital for that sleek effect. When these tools work in unison, you can maximize accuracy and minimize frustration, resulting in gorgeous floating shelves you’ll be proud to showcase in your home.
Step-by-Step Guide: Crafting Your Floating Shelves
| Step | Description |
| 1 | Prepare the wall and measure your desired space for the shelves. |
| 2 | Choose and cut the wood for your shelves. |
| 3 | Assemble mounting hardware for strong, invisible support. |
| 4 | Install the brackets and shelves securely. |
Preparing the Wall and Measuring Space
Start by selecting the ideal wall where you want to install your floating shelves. Use a level to mark the desired height, ensuring it aligns with your vision for functionality and aesthetics. Measure the available space and determine how many shelves you want, along with their length. Having precise measurements prevents material waste and helps maintain uniformity across all shelves, giving your space a polished finish.
Assembly Techniques for Strong, Invisible Mounting
Utilizing hidden brackets or floating shelf supports is key to achieving that minimalistic appeal. These mechanisms allows the shelf to have a clean, uninterrupted surface. Depending on the thickness of your shelves, you will need to select the appropriate mounting hardware to ensure they can support weight without compromising aesthetics.
When you select your mounting hardware, consider using brackets that are specifically designed for floating shelves. For instance, metal rods or hidden shelf brackets can be inserted directly into the wall and then into the shelf itself, allowing for a seamless look. Ideally, mount the brackets in wall studs for added strength, ensuring your shelves are stable and can support heavier items without sagging.
Styling Your Shelves: Creating a Cohesive Look
To achieve a cohesive look on your floating shelves, I recommend selecting a color palette that resonates with your overall interior design. Begin by grouping similar items together, varying their heights and shapes for visual interest while keeping a unified feel. For instance, if you favor a monochromatic scheme, incorporate white ceramic vases or clear glass objects alongside a few textured books in the same tone to add depth without cluttering the space.
Tips for Minimalist Décor that Enhances Function
Adopting minimalist décor adds a functional elegance to your floating shelves. Start by keeping items that serve a purpose, like stylish storage boxes or eye-catching bookends, while ensuring to curate the display to avoid overcrowding. You can easily elevate your shelves with these strategies:
- Incorporate natural elements like plants or wooden accents
- Use items you love and use regularly
- Opt for versatile décor that can evolve with seasons
Any thoughtful choice elevates the utility and aesthetic appeal of your shelves.
Balancing Visual Weight and Space
Balance in visual weight keeps your shelves from feeling chaotic. This principle relies on distributing items of various sizes and colors evenly across your shelves. For example, placing a tall vase on one end and a stack of books on the opposite provides a counterbalance, making the display more harmonious. I often test placements by stepping back and assessing the overall look; ensure each shelf has a careful mix of items, allowing the eye to flow naturally without becoming overwhelmed. Thoughtful arrangement transforms your floating shelves into attractive focal points.
Troubleshooting Common DIY Challenges
Even the most seasoned DIYer encounters challenges while crafting floating shelves. Whether it’s dealing with unexpected wall studs or aligning brackets, knowing how to troubleshoot effectively can save you time and effort. Common issues include fixing installation mistakes and adjusting for wall irregularities, both of which are pivotal for achieving that flawless, minimalist look you desire.
Fixing Installation Mistakes
Installation mistakes can happen to anyone, whether you mismeasured the location of your brackets or didn’t account for the weight of the items you’ll display. If you find your shelf isn’t level or secure, don’t worry; simply removing the shelf and adjusting the bracket position can resolve the issue. Use a level during reinstallation to ensure it’s perfect before anchoring it into the wall again. For a more stable solution, consider using wall anchors to better distribute the weight.
Adjusting for Wall Irregularities
Walls aren’t always perfectly straight, which can complicate your floating shelf installation. If your wall has slight dips or bumps, you might need to make adjustments to ensure that the shelf is secure and level. Using shims can be a simple solution; they can fill gaps and provide extra support where it’s needed. When mounting your brackets, check for level periodically, and don’t hesitate to make small tweaks—an off-level shelf can disrupt your minimalist aesthetic.
For walls with more significant irregularities, I often recommend investing in adjustable brackets. These allow you to customize the height and angle of your shelves, compensating for the wall’s unique shape. Additionally, if you encounter an uneven surface, consider using adhesive pads or rubber bumpers on the underside of the shelf to create a snug fit against the wall. With these adjustments, you’ll achieve both stability and a polished appearance for your floating shelves.
Conclusion
As a reminder, DIY floating shelves can transform your space into a minimalist haven that reflects your style and practicality. By carefully selecting materials and designs that suit your aesthetic, you can create functional storage solutions that showcase your favorite decor while keeping clutter at bay. My journey in crafting these shelves has taught me the value of simplicity in design, and I encourage you to embrace this DIY project to elevate your home’s look effortlessly.

